Sarah stared at the crooked picture frame hanging at a 15-degree angle, three books scattered on the floor below it. Just twenty minutes earlier, she’d felt so proud drilling into the wall with confidence, certain her new floating shelf would transform the living room. The wall plug had seemed snug, the screw had gone in smoothly, and everything looked perfect.

Then she’d placed the first book. A tiny shift. The second book made the shelf dip slightly. By the third book, the whole thing had surrendered to gravity with a crash that made her neighbors knock on the wall.
Sound familiar? You’re not alone. Millions of weekend warriors face this same frustrating cycle, armed with generic wall plugs and hope, only to watch their carefully planned shelving projects become expensive floor decorations.

Why Your Wall Plugs Keep Letting You Down
Here’s what most people don’t realize: that innocent-looking wall behind your sofa isn’t just “wall.” It could be plasterboard over wooden studs, solid brick from the 1930s, modern concrete block, or even hollow clay tiles. Each material demands a completely different approach to wall plug installation.
Professional installers know this instinctively. They tap the wall with their knuckles, listening for clues. A dull, dense thud usually means concrete or solid brick. A light, hollow echo screams plasterboard or partition walls with air gaps behind them.

“Most DIY disasters start with guessing the wall material,” explains residential contractor Mike Chen, who’s seen countless failed shelf installations. “People grab whatever wall plugs they have lying around and hope for the best.”
The problem gets worse in older homes, where you might encounter three different wall types in a single room. That Victorian terrace might have solid brick exterior walls, plasterboard partitions, and concrete block extensions all within ten feet of each other.

The Essential Wall Plug Trick Professionals Use
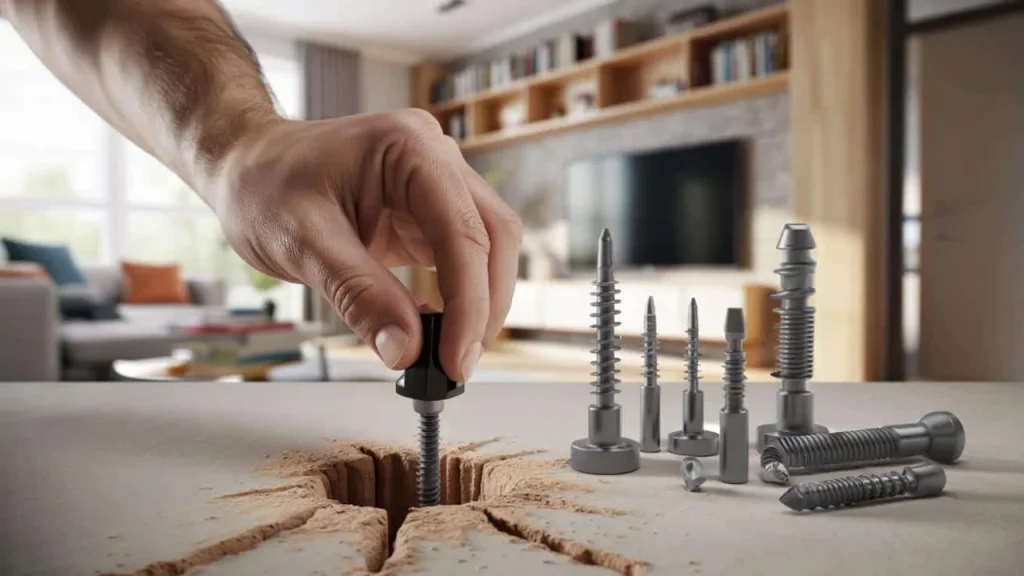
Here’s the game-changing wall plug trick that separates amateur attempts from rock-solid installations: the pre-expansion technique. Most people drill a hole, shove in the plug, and immediately start screwing. That’s backwards.
Professional installers follow a specific sequence that creates maximum grip before adding any weight:

- Drill the exact right size hole – not bigger, not smaller
- Clean out every speck of debris with a vacuum or compressed air
- Insert the plug completely flush with the wall surface
- Drive the screw in slowly until you feel real resistance
- Back the screw out slightly to create the final mounting point
That last step is crucial. By driving the screw in first without any load, you force the plug to expand properly and bite into the surrounding material. Then backing it out slightly gives you the perfect depth for mounting your bracket or fixture.
“The pre-expansion trick eliminates 90% of loose plug failures,” says hardware store manager Janet Rodriguez. “But hardly anyone outside the trade knows about it.”
| Wall Material | Best Plug Type | Drill Bit Size | Maximum Load |
|---|---|---|---|
| Solid Brick/Concrete | Expansion Plug | Exact plug diameter | 25-50 kg per plug |
| Plasterboard | Toggle/Cavity Plug | Varies by design | 15-25 kg per plug |
| Hollow Block | Special Cavity Plug | Check packaging | 20-35 kg per plug |
| Wood Stud | Wood Screw Direct | Pilot hole | 40+ kg per screw |
What Happens When You Get It Right
The difference between guesswork and proper technique is dramatic. A correctly installed wall plug in the right material can hold its rated load for decades. We’re talking about shelves that support entire book collections without the slightest sag.
Professional-grade installations also resist the gradual loosening that plagues amateur attempts. Temperature changes, house settling, and vibrations won’t gradually work the plugs loose when they’re properly expanded and seated.
The real-world impact goes beyond just keeping your stuff off the floor. Properly mounted shelves, TV brackets, and storage systems actually increase property value. Estate agents consistently note that quality built-in storage is a selling point, while obvious DIY failures can put buyers off.
“A house where everything is mounted solidly gives buyers confidence in the overall maintenance,” notes property surveyor David Patel. “Wonky shelves suggest wider problems.”
The Tools That Make All the Difference
You don’t need a professional workshop, but having the right basics prevents most problems. A decent drill with multiple speeds lets you control the hole precisely without overdrilling. Variable speed matters more than pure power.
A small vacuum attachment or can of compressed air transforms plug installation. Even tiny dust particles can prevent proper expansion, especially in masonry materials. Clean holes mean maximum grip.
Finally, invest in a basic plug selection rather than buying the same type every time. Three small boxes covering expansion plugs, toggle plugs, and cavity plugs will handle 95% of home mounting projects properly.
“The cost difference between random plugs and the right plugs is maybe £10,” points out DIY instructor Carol Williams. “The difference in results is night and day.”
Remember Sarah from our opening story? Three months later, her replacement shelf holds two dozen books without budging. The secret wasn’t expensive tools or advanced skills – just understanding her plasterboard walls needed toggle plugs and following the pre-expansion technique.
Sometimes the biggest improvements come from the smallest changes in method.
FAQs
How do I know if my wall plug is the right size?
The drill bit should match the plug diameter exactly – you want a snug fit that requires gentle tapping to insert fully.
Can I reuse holes if a wall plug fails?
Only if you use a larger plug size or fill the hole completely with filler and re-drill after it cures.
How much weight can a standard wall plug really hold?
It depends entirely on your wall material, but properly installed plugs in solid masonry can handle 25-50kg each.
Why do my wall plugs keep spinning in the hole?
This usually means you’re using expansion plugs in hollow material that needs toggle or cavity plugs instead.
Should I always hit wall studs for heavy items?
For very heavy loads (over 30kg), finding studs is ideal, but proper cavity plugs in plasterboard can handle surprisingly heavy loads.
What’s the biggest mistake people make with wall plugs?
Using the same type everywhere instead of matching the plug to the specific wall material.