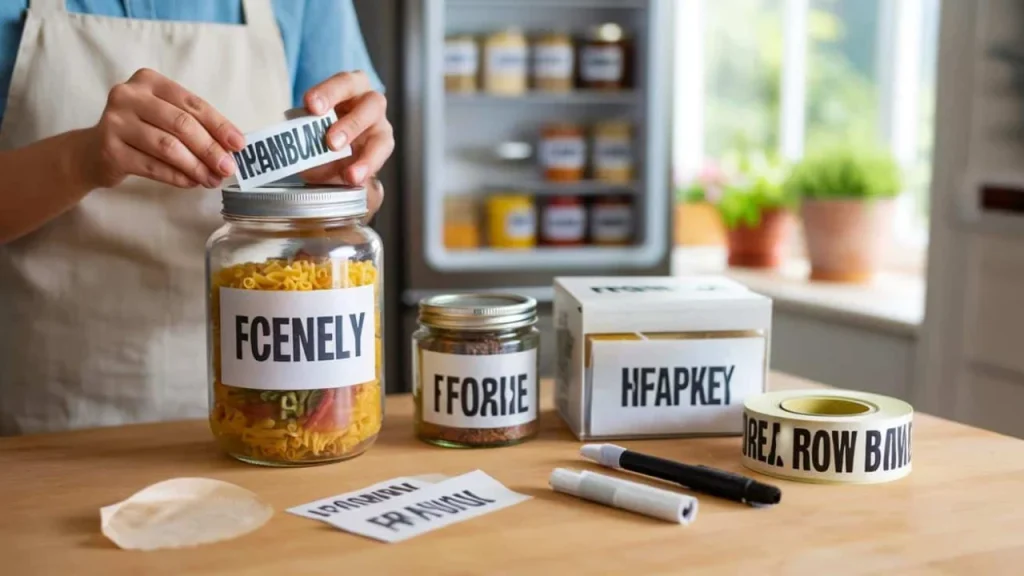
Sarah opened her pantry for the third time that morning, staring at a row of identical glass jars. Each one had once worn a neat white label with bold black letters. Now they looked like archaeological artifacts from a kitchen disaster. One label hung by a corner, another had faded to the point where “FLOUR” looked more like “FLOU?” and the third had completely peeled off, leaving only a sticky residue and her growing frustration.

She grabbed what she hoped was sugar, opened it, and found rice instead. Again. This wasn’t the first time her labeling system had betrayed her, and it wouldn’t be the last. The promise of organization had turned into a guessing game that made her feel like she was living in someone else’s house.
Sound familiar? We’ve all been there, squinting at mystery containers and wondering why something as simple as a label can’t survive a few months in normal use.

The hidden enemies that destroy your labels
The truth about label failure isn’t what most people think. It’s not just about buying “cheap” labels or using the “wrong” pen. Labels die from a combination of environmental factors that most of us never consider when we’re happily sticking them on everything in sight.
“Most people treat labeling like it’s a one-size-fits-all solution,” says organizational consultant Maria Rodriguez. “They grab whatever’s handy and expect it to work everywhere, from the freezer to the garage to the bathroom. That’s like wearing flip-flops to go hiking.”
Here’s what really kills labels:
- Temperature swings that cause materials to expand and contract
- Moisture that seeps between adhesive layers
- UV light that breaks down both ink and adhesive compounds
- Oil and grease from hands that create barrier layers
- Surface textures that prevent proper adhesion
- Chemical interactions between ink and container materials

The kitchen alone presents at least five different labeling environments. Your spice rack gets heat from the stove, steam from cooking, and constant handling. The refrigerator creates condensation. The freezer subjects labels to extreme cold and ice formation. Each location demands different label durability tips.
Smart label solutions that actually work
Professional organizers and industrial facilities have figured out what works. The secret isn’t buying expensive equipment – it’s matching your materials to your environment and following a few key principles.

| Environment | Best Label Type | Recommended Writing Tool | Expected Lifespan |
|---|---|---|---|
| Kitchen pantry | Vinyl or laminated paper | Permanent marker or thermal printer | 2-3 years |
| Refrigerator | Waterproof vinyl | Oil-based marker | 1-2 years |
| Freezer | Freezer-specific labels | Freeze-resistant ink pen | 6 months to 1 year |
| Outdoor/Garden | UV-resistant plastic | Weatherproof marker | Full growing season |
| Office/Files | Standard adhesive labels | Ballpoint pen or inkjet | 5+ years |
The game-changer for most people is understanding surface preparation. “You wouldn’t paint over dirt, so why would you label over dirt?” asks professional organizer James Chen. “Clean, dry surfaces double your label lifespan immediately.”
Here are the label durability tips that make the biggest difference:
- Clean surfaces with rubbing alcohol before applying labels
- Press labels down with firm, even pressure for at least 30 seconds
- Avoid applying labels in extreme temperatures (below 50°F or above 100°F)
- Choose matte surfaces over glossy when possible
- Leave 1/8 inch border around text to prevent edge wear
- Use block letters rather than cursive for better readability over time
For high-wear areas, consider the “double-layer” method: print or write your text on paper, then cover it with clear packing tape before applying. This creates a protective barrier that resists moisture and handling.
What works in the real world
The most successful labeling systems are the ones people actually maintain. That means choosing solutions that work with your habits, not against them.
Take the busy parent who tried color-coded labels for everything. Beautiful system, but it required her to remember what each color meant. After a month, she was back to guessing. Now she uses simple white labels with large, black text. Less pretty, but it works.
“The best label is the one you can read from three feet away while holding a squirming toddler,” she laughs. “Everything else is just decoration.”
Industrial settings provide another lesson. They use label makers with thermal printing because the text becomes part of the label material, not just ink sitting on top. For home use, this translates to using tools where the text physically bonds with the surface.
Professional chef Michael Torres swears by chalkboard paint: “I painted small sections of my storage containers with chalkboard paint. Chalk markers give me bright, clear text that I can change instantly. No peeling, no fading, no waste.”
The key insight is flexibility. Your labeling system should adapt to changing needs without creating a maintenance nightmare.
Long-term strategies that save time and sanity
The most effective approach treats labeling as a system, not a one-time project. This means planning for label replacement, choosing reusable solutions where possible, and accepting that some labels are meant to be temporary.
Smart households keep a “label kit” in a designated spot: the right markers, extra labels, cleaning supplies, and a small ruler for consistent placement. When a label starts failing, replacement takes two minutes instead of becoming another delayed project.
For items that change frequently – like leftovers or seasonal storage – use removable labels or dry-erase surfaces. For permanent items like tool storage or archived files, invest in higher-quality materials upfront.
The environmental factor matters too. Labels in garage workshops face oil, dust, and temperature extremes. Kitchen labels battle steam, spills, and constant handling. Bathroom labels fight humidity and cleaning chemicals. Each environment needs its own approach.
“I stopped trying to find one perfect label solution,” says home organizer Lisa Park. “Now I match my materials to the job. Freezer gets freezer labels. Garage gets industrial vinyl. Bathroom gets waterproof. It sounds complicated, but it’s actually simpler because things just work.”
FAQs
How long should a good label last?
In normal indoor conditions, quality labels should remain readable for at least one year, with many lasting 2-3 years or more.
What’s the most common labeling mistake people make?
Using the same label type everywhere without considering the environment, especially using paper labels in high-moisture areas.
Are expensive label makers worth it?
For heavy users, yes. Thermal printing creates more durable text than handwriting or inkjet printing, and the consistent sizing looks more professional.
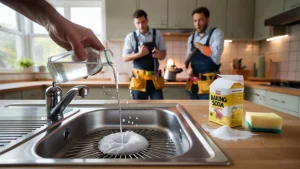
How can I remove old sticky residue from failed labels?
Goo Gone, rubbing alcohol, or even cooking oil can dissolve adhesive residue. Always test on a small area first.
What’s the best pen for writing on labels?
Fine-tip permanent markers work best for most applications, but oil-based markers are better for slick surfaces and extreme conditions.
Should I laminate my handwritten labels?
For high-wear areas, yes. Clear packing tape over handwritten labels dramatically increases their lifespan and readability.